
A sensor gives a Unit its real technical perception. VAKTEN can use it, for example, to detect whether a door is open or closed or to record a measured value such as temperature.
For a new Unit, you can configure a new sensor, use an already configured sensor, or postpone sensor configuration.
Where do I find it?
HJÄRTA
→ open the required HJÄRTA
→ UNITS tile
→ Create new Unit
→ enter the Unit details
→ Accept Unit
You then have three options:
- Configure new sensor
- Use existing sensor
- Configure sensor later
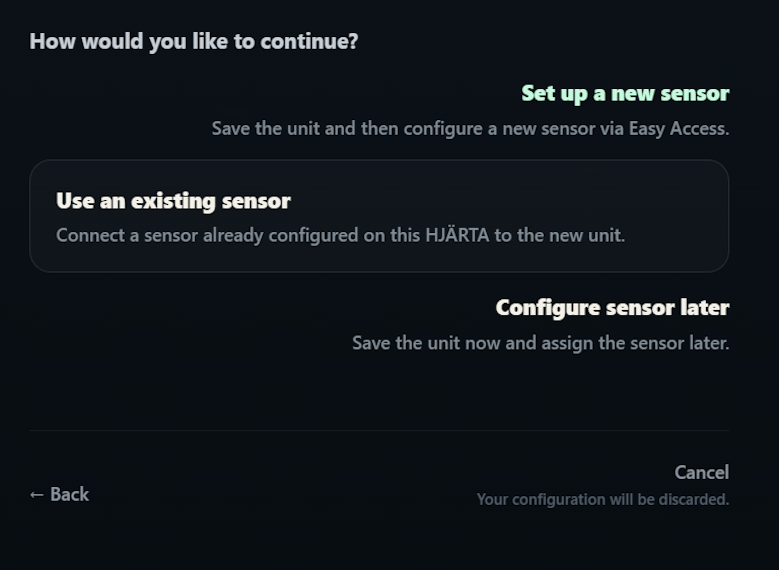
For a sensor that has just been connected for the first time, choose Configure new sensor.
Configure a new sensor
After saving the Unit, VAKTEN first asks where the sensor cable is physically connected.
Configure new sensor
→ Select Easy Access
→ choose the connector EA1 to EA5 that is actually in use
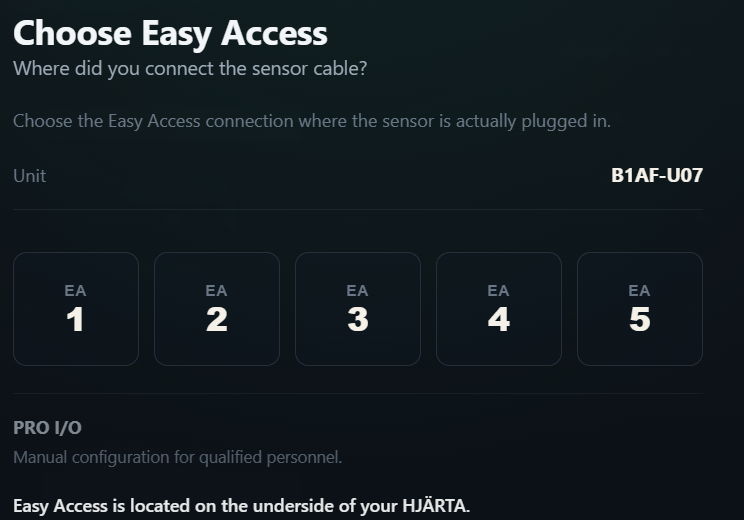
Select the connector on the underside of HJÄRTA where the sensor cable is physically plugged in.
You do not need to know an internal channel number.
Identify and test the sensor
If VAKTEN already knows the sensor profile supplied with this HJÄRTA, it is used automatically.
If the profile cannot be identified unambiguously, VAKTEN may ask for the type code shown on the sensor box.
For a reed contact, for example, VAKTEN may then show:
- Profile detected
- Sensor box Reed
- Easy Access 4
The real functional test then begins.
Close the door completely
First move the monitored door fully into the closed position.
VAKTEN simultaneously shows whether HJÄRTA detects an electrical signal on the selected signal path.
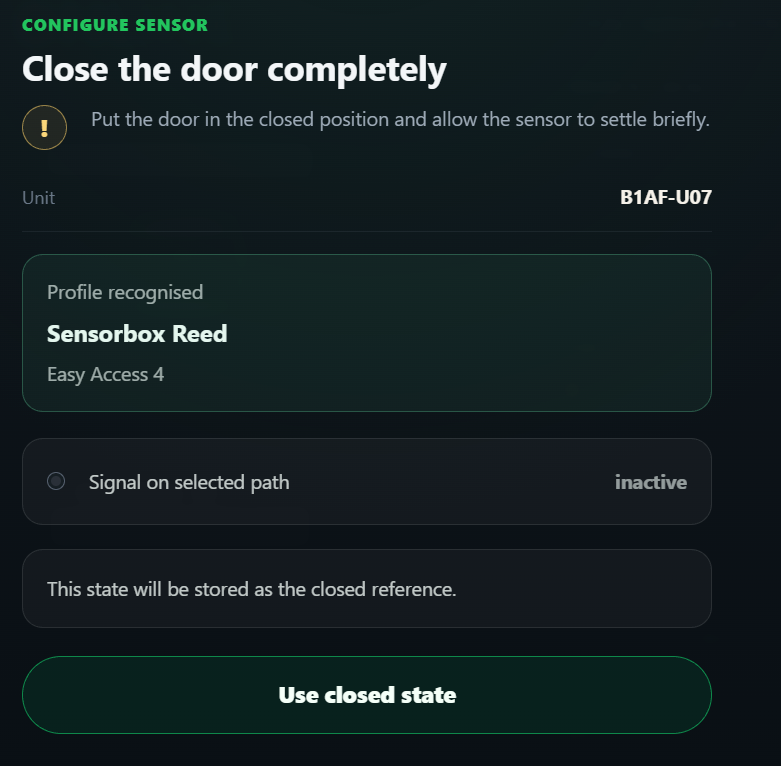
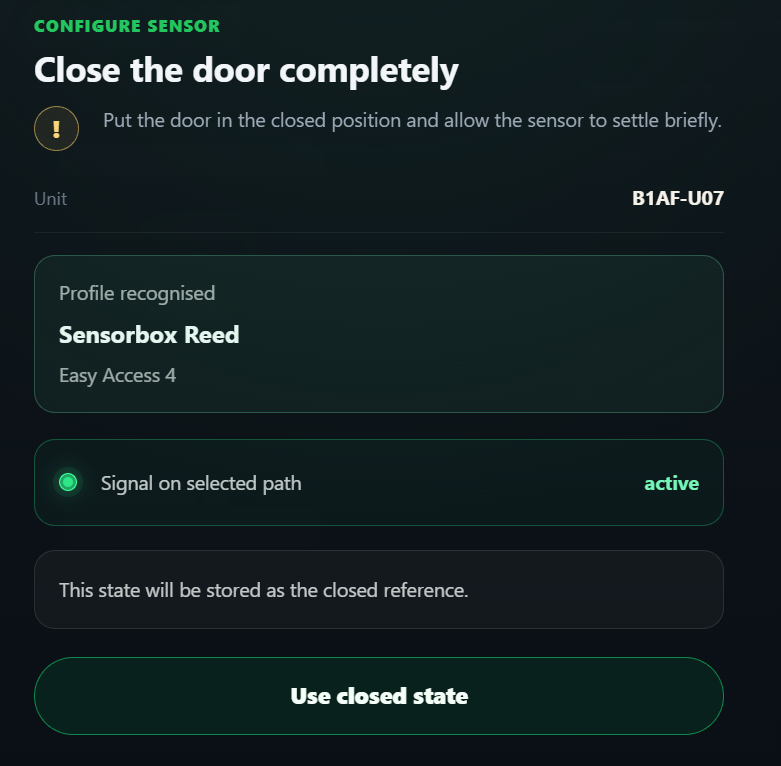
At this point, active / inactive describes only the electrical state of the sensor.
It does not yet automatically mean open or closed.
Once the door is fully closed and the sensor shows a stable state, choose Accept closed state.
Then open the door
In the next step, VAKTEN asks you to open the door.
VAKTEN now waits for an actual change in the sensor signal.
As soon as the change is detected, Functional test successful is displayed.
VAKTEN then knows both real sensor states and can subsequently display them as closed and open.
What happens during this process?
VAKTEN does not simply assume an electrical polarity.
Instead, the sensor is configured using its actual physical states.
You first show VAKTEN the closed state and then, by opening the door, the opposite state.
From this real signal change, VAKTEN can determine which electrical state is later to be interpreted as open or closed.
This means users do not need to know or configure technical values such as 0, 1, HIGH or LOW.
Good to know
Sensor already configured?
Choose Use existing sensor. The sensor does not need to be learned again.
No sensor available yet?
Choose Configure sensor later. A Unit can also be saved without a sensor.
Easy Access or PRO I/O?
Easy Access is intended for guided setup. PRO I/O is the manual configuration path for qualified personnel.